

Years ago, I sated my appetite for creative art by doing complex digital paintings and photo manipulations of horses. I’ve always had a great appreciation for horses, so I was excited to be commissioned to do a horse collar design. My little Etsy business has been doing phenomenally well, so I haven’t had as much time to explore new design ideas and techniques with the amount of works I’ve had to create.
I’m happy to blog about a new awesome customer who has commissioned me to create a new collar featuring horses!
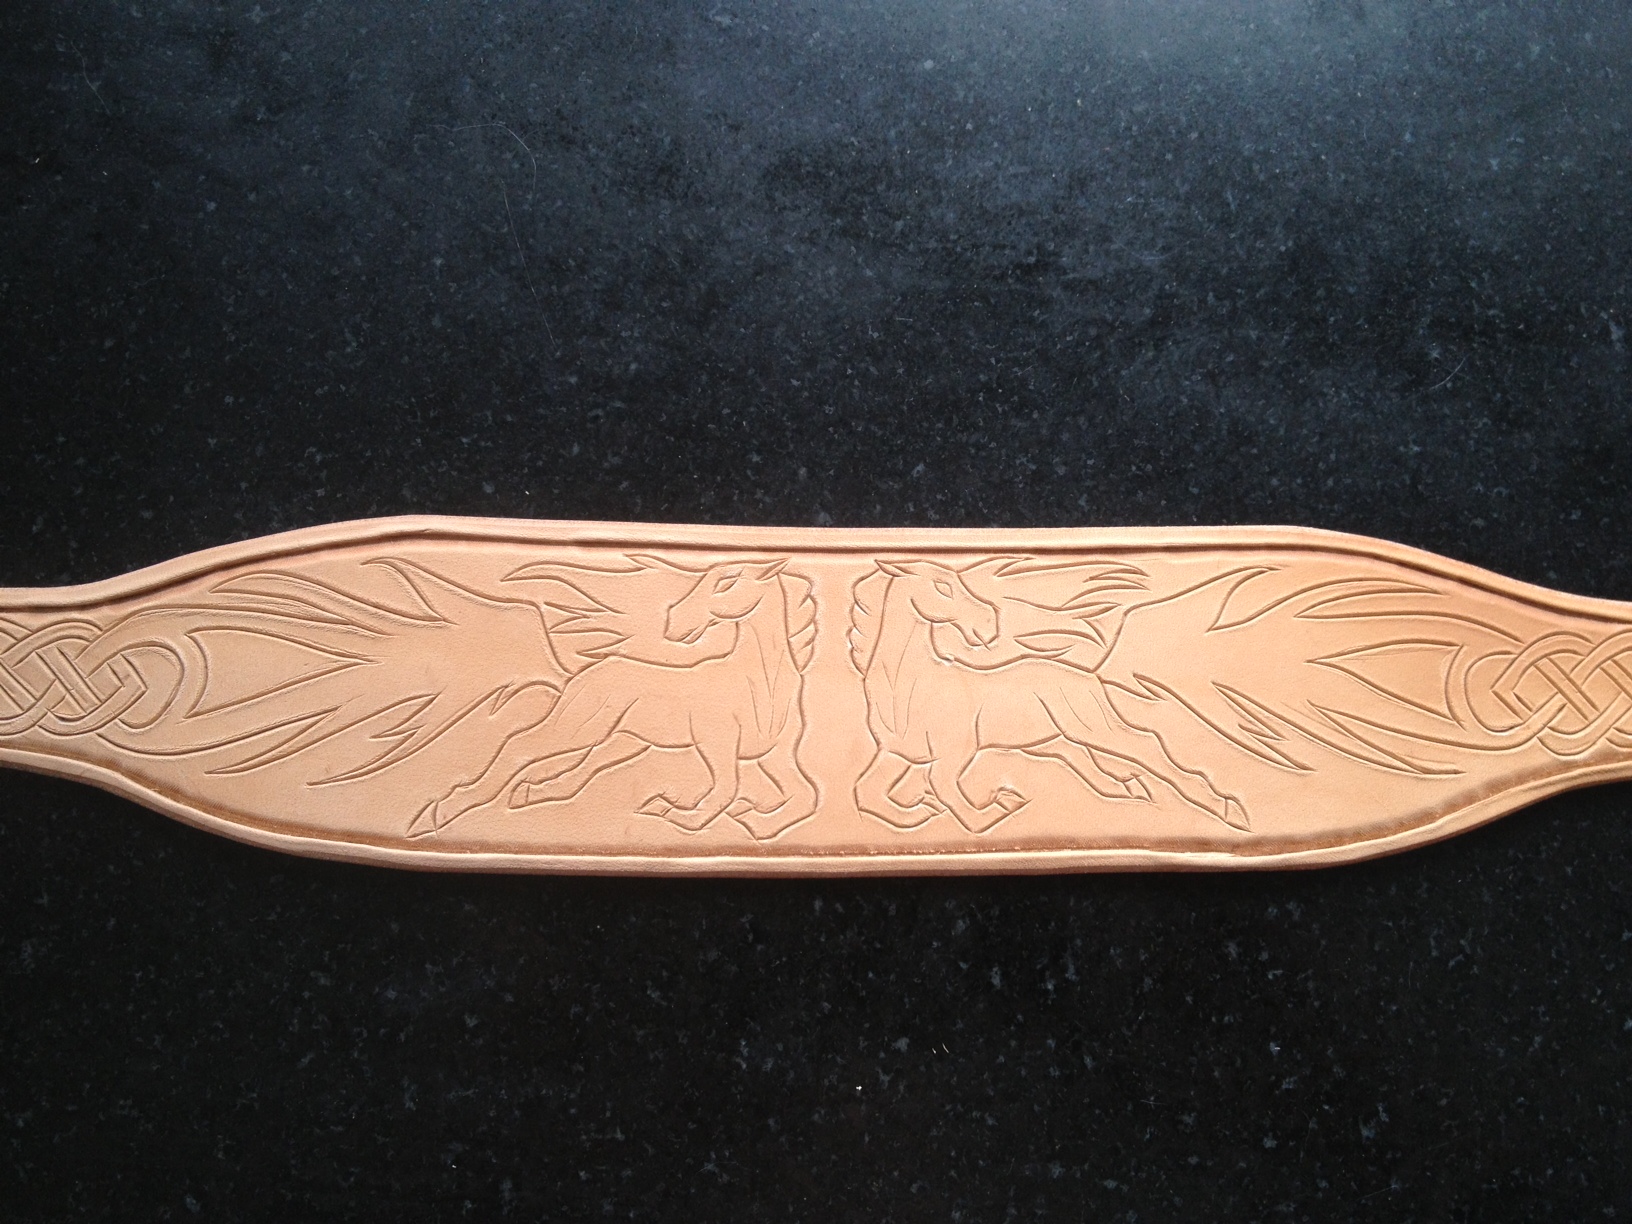
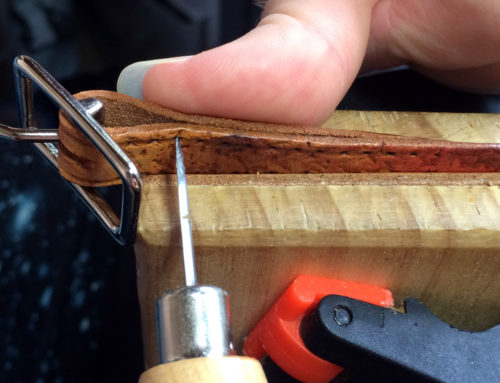
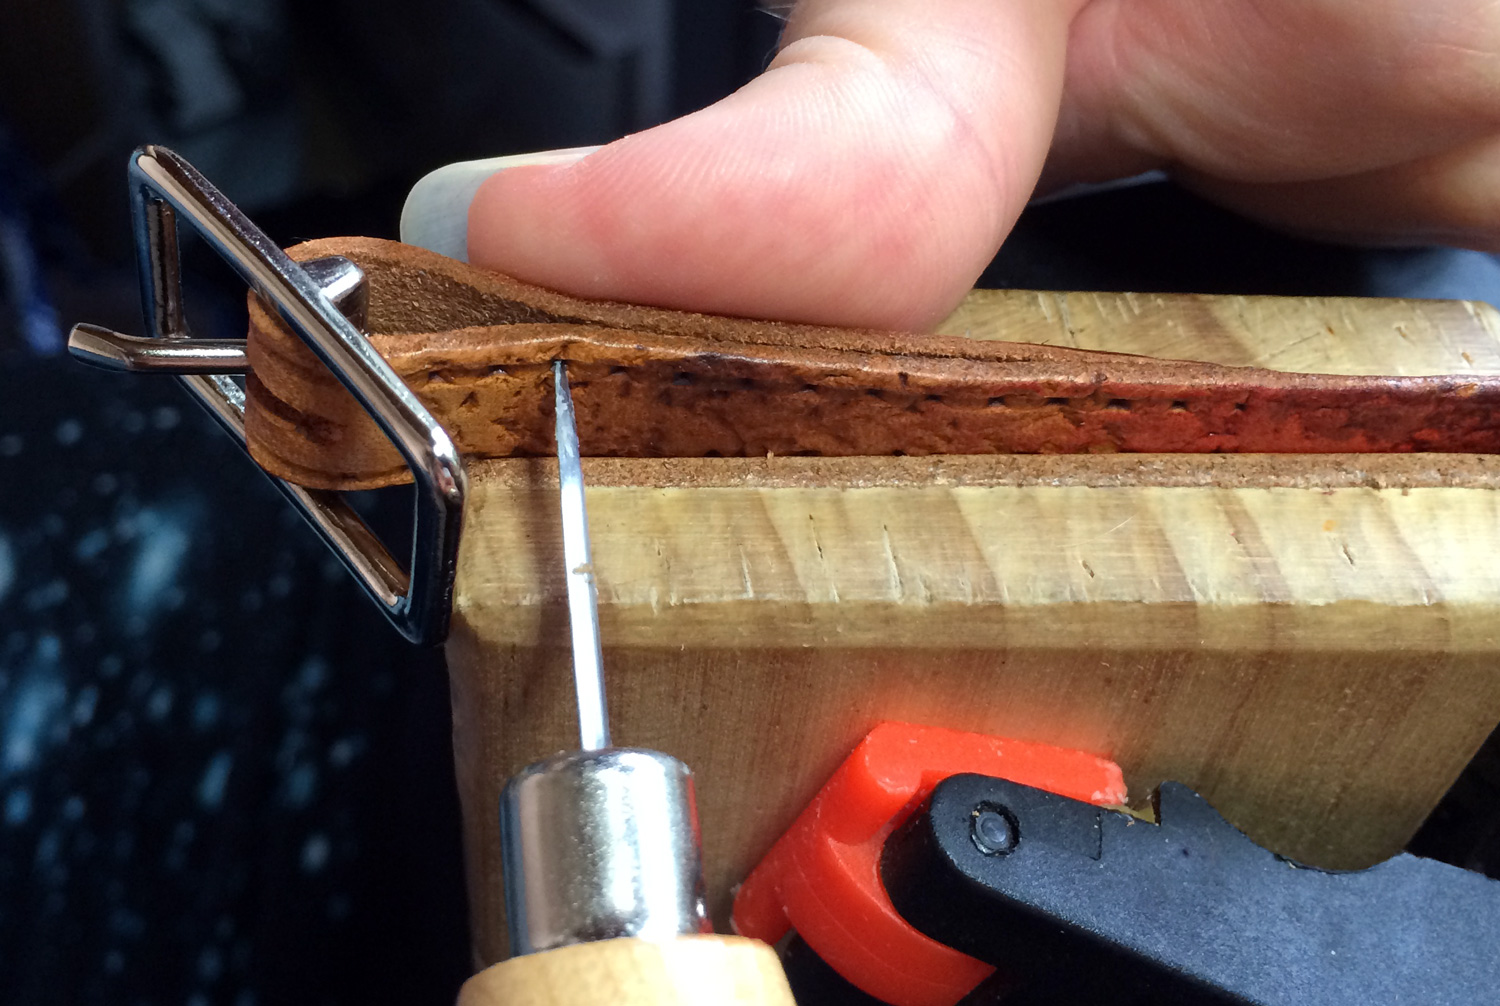
In order to create such a collar, I begin by scanning a hand-drawn sketch into Photoshop. I then duplicate and flip the image such that it is perfectly symmetrical. Next, I print a paper template and trace it with a stylus on to the cased leather. I choose to edge (sand, saddlesoap, and burnish with canvas) before tooling so that I don’t mangle the leather after the design is down and perfect. The swivel knife step where I cut into the leather along the previously traced lines is usually the fastest task. Having completed this step for the horses collar, I believe that I’m going to have to charge more for future such commissions as it’s taken a lot longer than I expected for the complex celtic pattern to be done by hand!
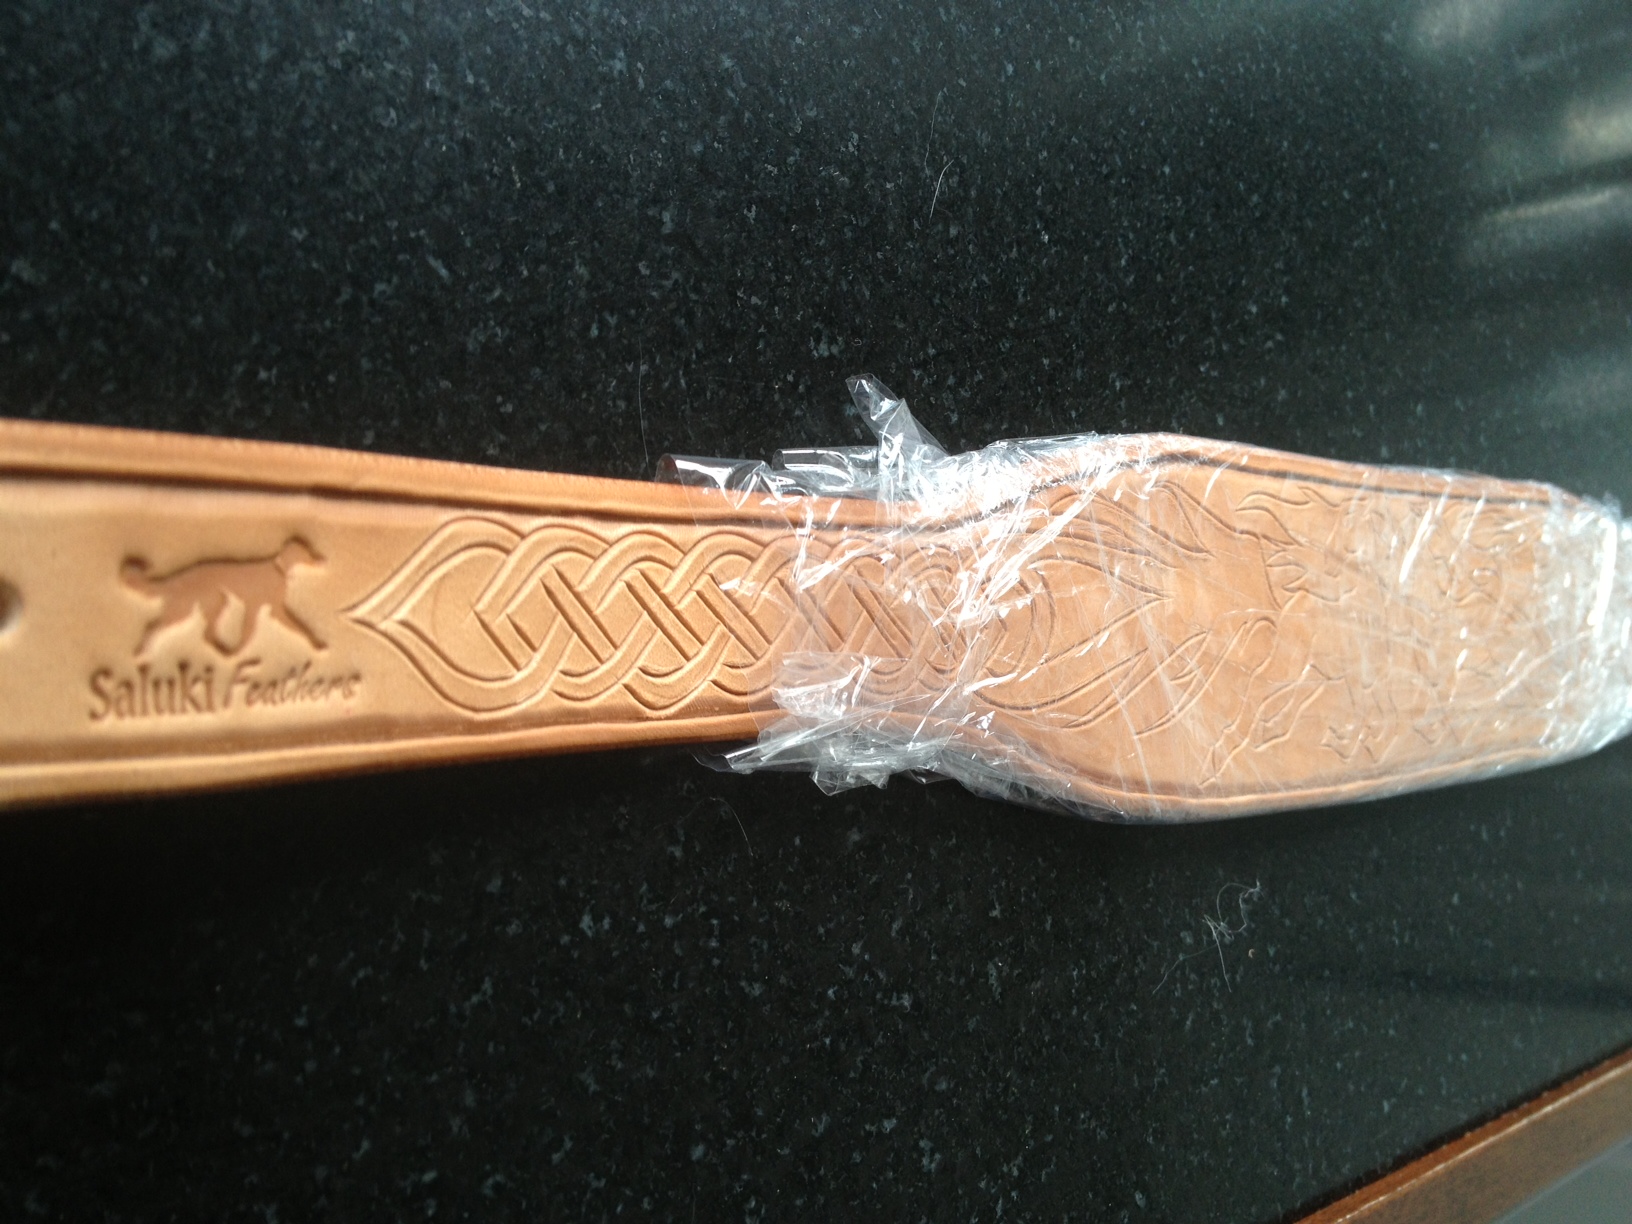
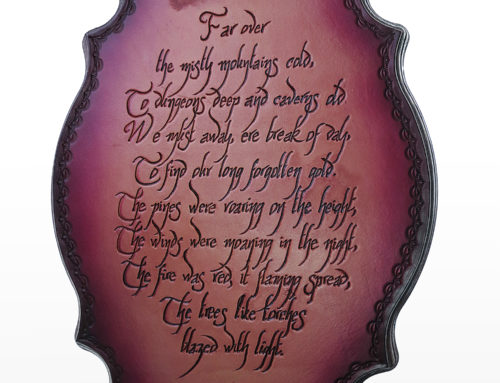
When tooling, you want to re-wet the leather as seldom as possible. Every time you wet the leather, the indentations become a little less crisp and the cuts a little more shallow. Saddlemakers are often faced with large pieces of leather to tool, and are often unable to finish the whole thing in one sitting. A way to get around this problem is to wrap the project in plastic wrap and unwrap the leather as one gets to tooling each part or section. I chose to use this technique with this design, as the Celtic knots alone are going to take quite a while.
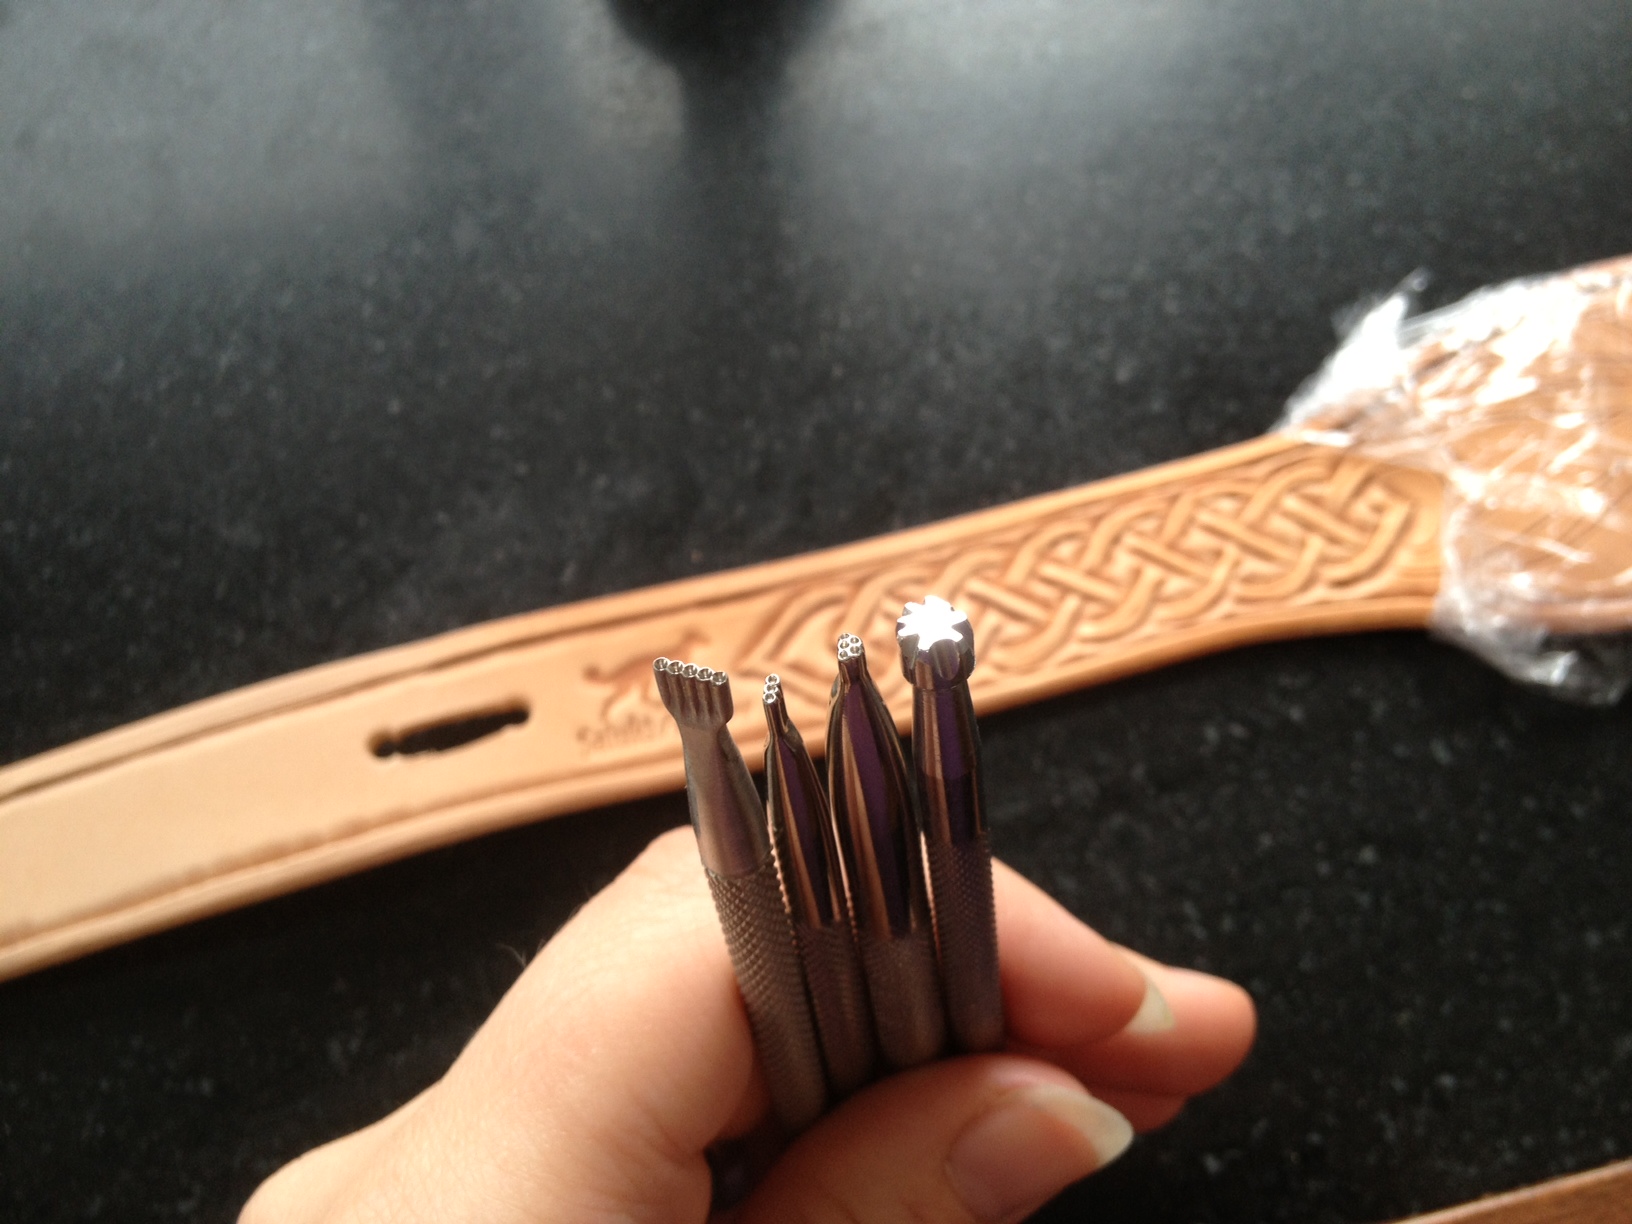
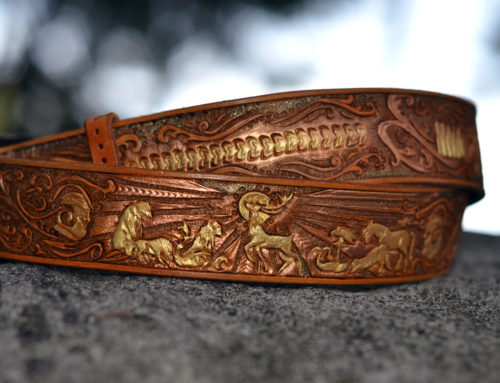
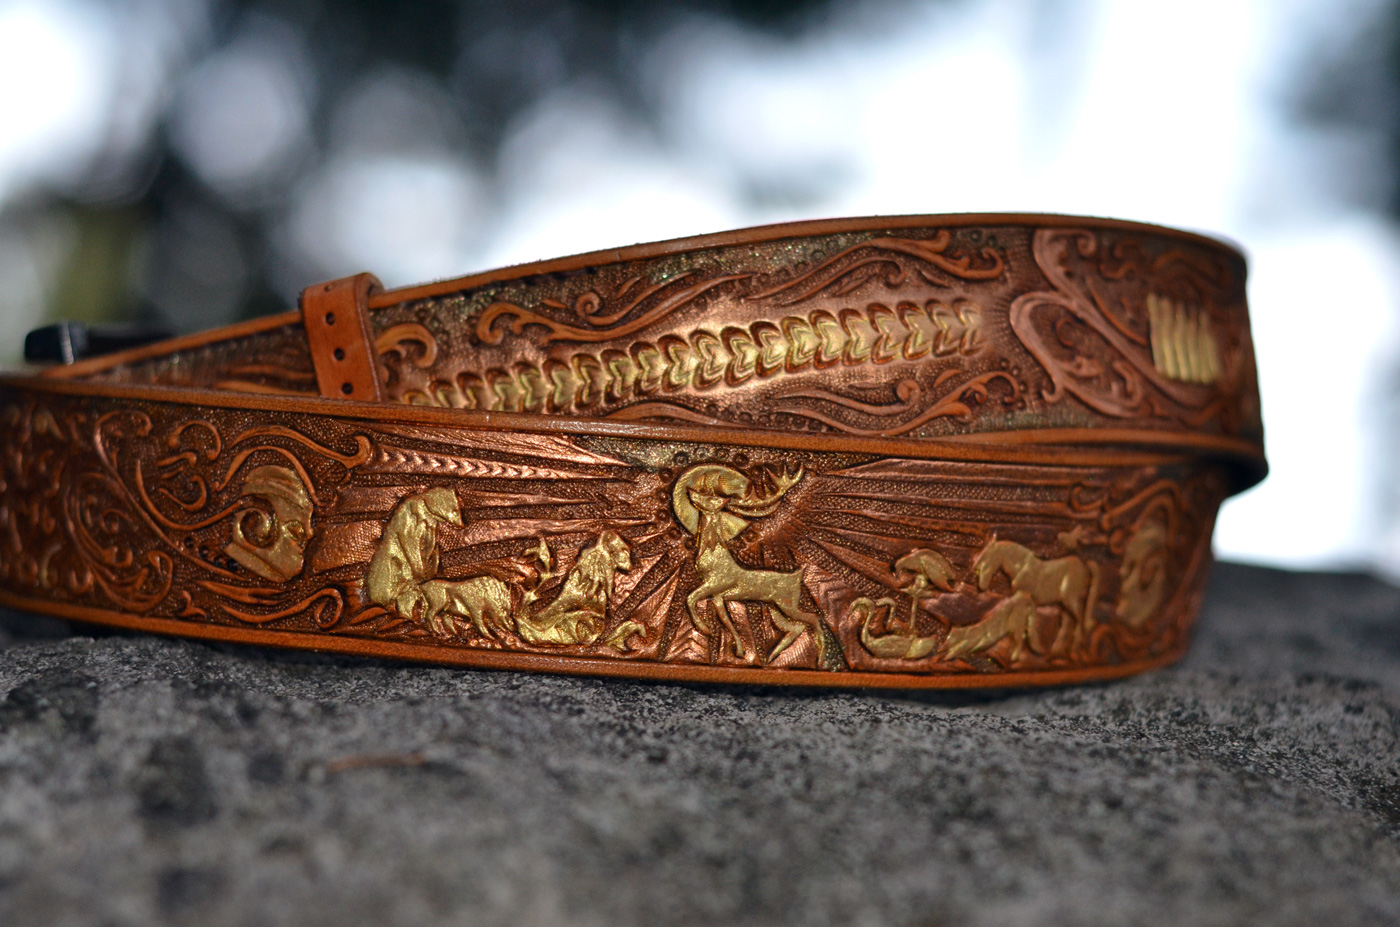
After beveling the design, the next decision to be made is regarding the texture in the background. The crevices of the knots are going to be very fine and precise, which is a perfect job for a bargrounder tool. The background areas open up at the ends of the knot and around the horse, so I’ll use a #F994 vintage Craftool (only the vintage ones seem to be any good) figure stamp for the wider areas, for a textural contrast. The bargrounder impressions absorb antique like crazy, so will create a nice dark halo around the design during the dying process. The bargrounder impressions are gently faded into the figure stamp impressions.
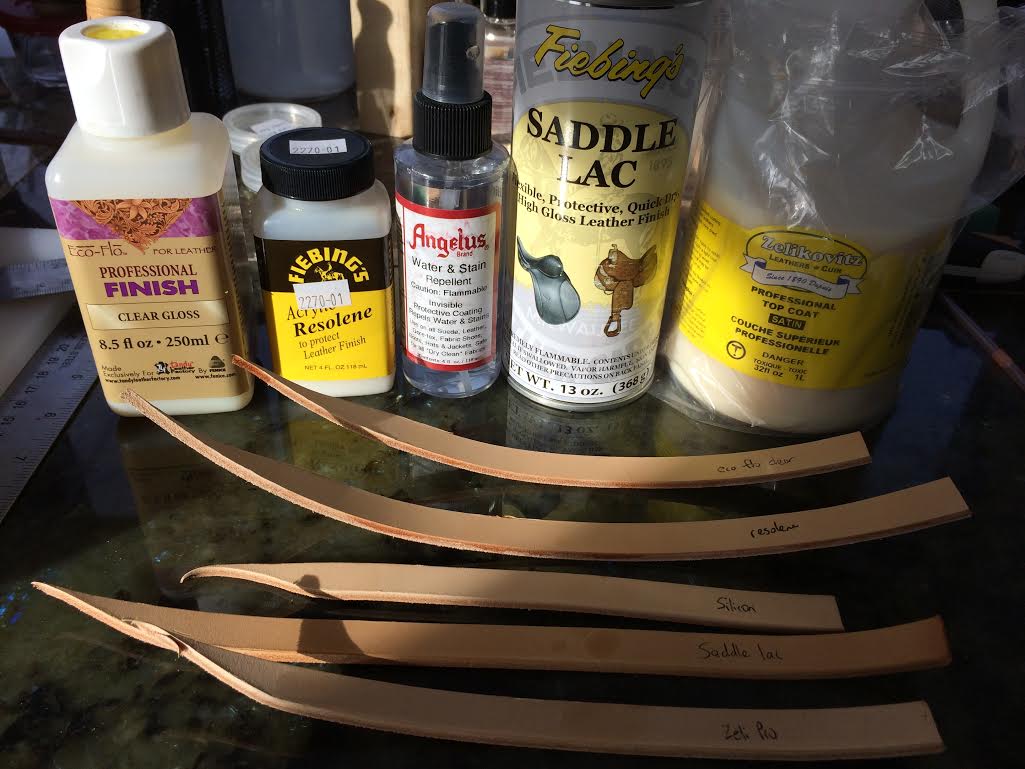
This will contrast beautifully with the silver and gold acrylic paints for leather that I’ll apply later on (I use the Eco Flo Cova colours and enhance the metallic properties with Pearlex powder pigments afterwards). The leftmost bargrounder is one of the new Tandy “Pro” Sheridan stamps, and the two bargrounders adjacent to it are by Barry King. I was curious how Tandy’s new line of Sheridan stamps would compare to the well-esteemed Barry King brand. While the new Tandy stamp was a huge step up from the Craftool (often refered to online as “Craptool”) brand, I ended up not using the Tandy stamp at all because the domes were not as pronounced. Barry King wins again!
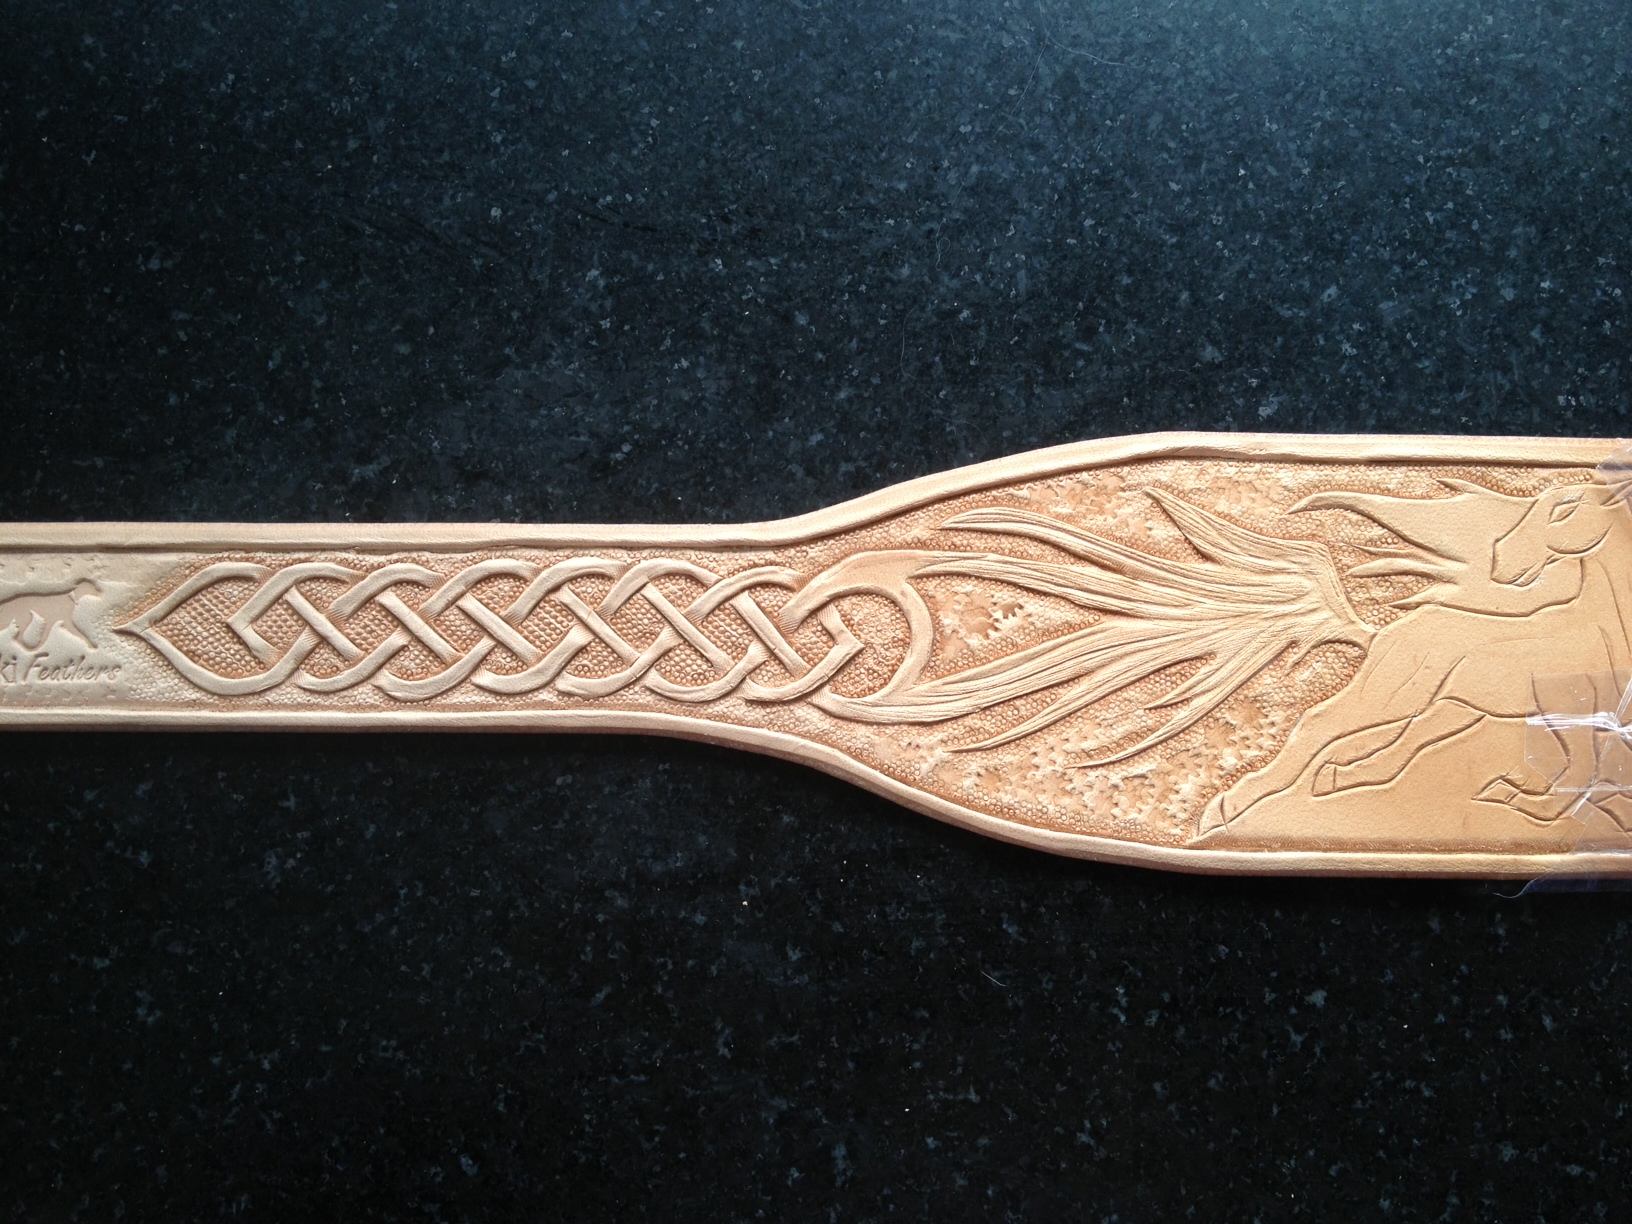
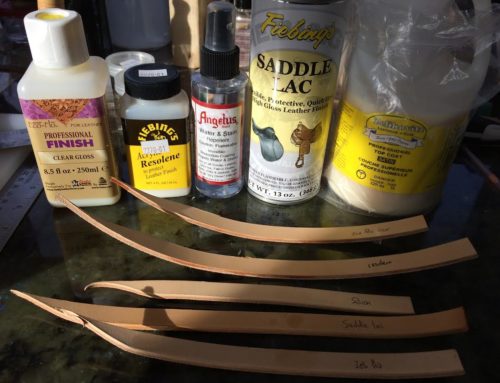
The strap up to the tail has been beveled and textured. Time to take a beak and continue tomorrow!

Hi Julia!
I must commend you on your work. I’ve had dogs forever, have looked at countless custom collars, but your handiwork is simply phenomenal!
I love this Celtic Horse collar. The colors and design would look absolutely gorgeous on my Rottweilers! I understand you’re taking a break for a while, but I wanted to ask if you’d be willing to make another and what the cost would be. I prefer Italian brass hardware, and would probably need it sized 22-24″
Hope to hear from you soon!
Thanks a bunch,
Jeannine